Installing a single-zone mini-split system might seem complex, but for the HVAC technicians at Fry, we make it look simple. We have been installing these systems for years and have the tools and expertise to handle almost any brand and model. Naturally, installation and replacement are best left to a professional HVAC technician, and we are more than happy to help you with your next installation. However, for those interested in the process, here is the standard step-by-step technique for installing a single-zone mini-split system in Toledo, Ohio and the rest of the Ohio Valley.
Planning and Preparation
Finding the Perfect Location
First and foremost, we need to find the perfect location for the mini-split zone system. We need to find a spot on an interior wall for the indoor unit that is high enough to ensure good airflow and has a clear path to the outdoor condenser. In addition to finding the correct location on the wall, you also need the proper electrical service, whether 120V for smaller units or 240V for larger units.
Adding the Hardware
Next, we will want to run and secure the hardware that we need to mount the unit. First, we will run the electrical lines if the voltage is incorrect or if the outlet is poorly positioned. Next, we will secure the indoor unit's mounting plate on the interior wall. We will mount the mounting plate on your studs to ensure it is properly supported. Then, we will drill a hole in the wall to create a clear path for the line set from the inside out.
Running Lines and Mounting your Unit
Feed the Line
Next, we will pass the bundled line set through the wall and ensure that we have enough room to adjust when needed. The bundled line will include the copper lines, drain tube, and electrical wires, and is a one-stop shop to ensure your unit can operate year-round.
Mount the Indoor Unit
The next step is to mount the indoor air handler inside your home on the pre-secured mounting plate. The air handler is designed to move air from the condenser to the inside of the home and is one of the most important parts of the system. We will also ensure the unit's connections are accessible and that the line can be connected once we are ready to set up the whole system.
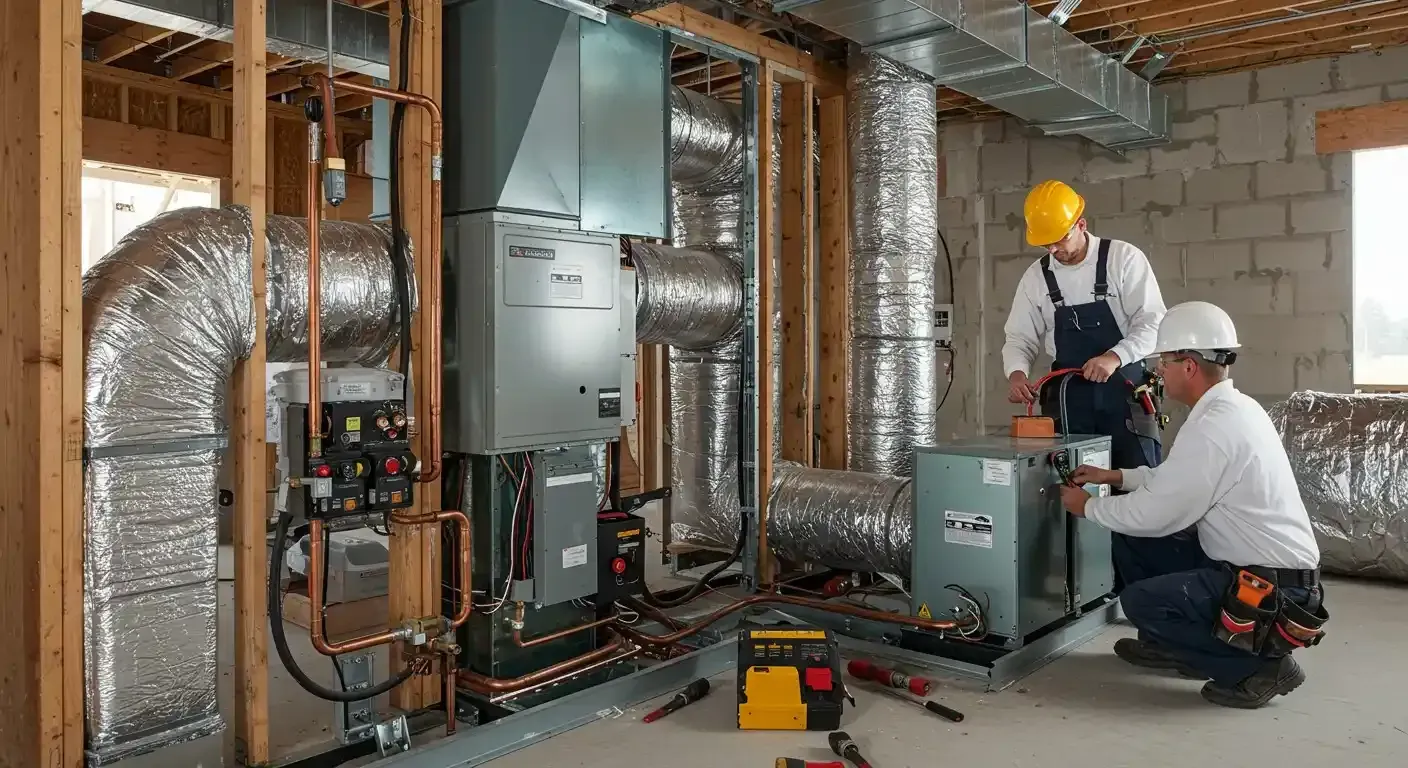
Install the Exterior Unit
Once the inside unit is ready, we then move to the exterior unit. For the vast majority of split-level systems, the exterior unit is a condenser that takes in outdoor air and either warms or cools it. We will install the condenser either on a level pad or on a bracket that we have installed on the side of your home ahead of time. We will then run the bundles line and double-check that we have proper clearance per the manufacturer specifications and local codes.
Lines and Drainage
The next step is to carefully uncoil and connect the refrigerant lines and electrical wires between the interior and exterior units. Our professional electricians and technicians will test the wires throughout the process and ensure the correct wires are routed to the correct locations. Once the electrical and refrigerant lines are sorted, we attach the drain line and ensure it is properly sloped to allow for natural gravity-fed drainage.
Finalize Installation and Testing
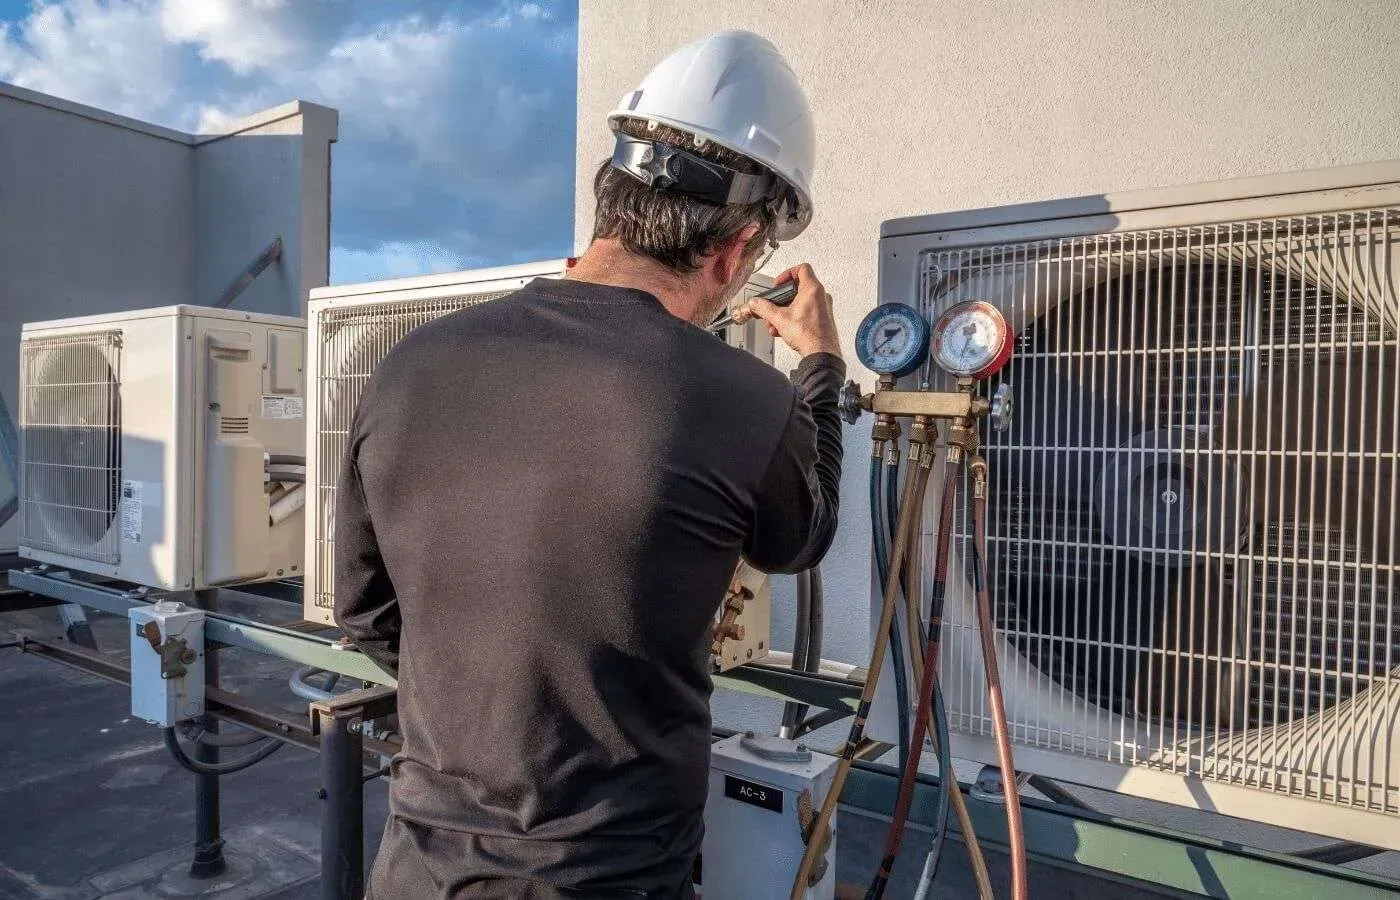
Vacuum Testing
Once everything is installed and connected, we need to complete a pressure test on the full system. We use a manifold gauge set and a vacuum pump to test the lines for leaks, and we will make quick repairs if any are found. Generally, the only issue spots are at connections which can be tightened and sealed.
Charge the System
Once the system is pressure-tested, we can charge it. Our professional contractors will double-check the recommended charge and add the required refrigerant to ensure compliance with the manufacturer's specifications.
Power Up and Final Testing
The final step in the installation process is to power up the unit and complete the final tests. Our HVAC technicians will check both heating and cooling modes and perform a complete system check for leaks, hissing, or other noticeable issues.
Finishing
The final step in the whole process is to chat with the homeowner and go over how the system works, how they can control it and any troubleshooting they can do for common issues that might arise. We will also seal any holes, add conduit or trim, and clean up the work site to ensure that your new mini-split zone unit is ready to be your one-stop shop for heating and cooling across all four seasons in Toledo, Ohio.